
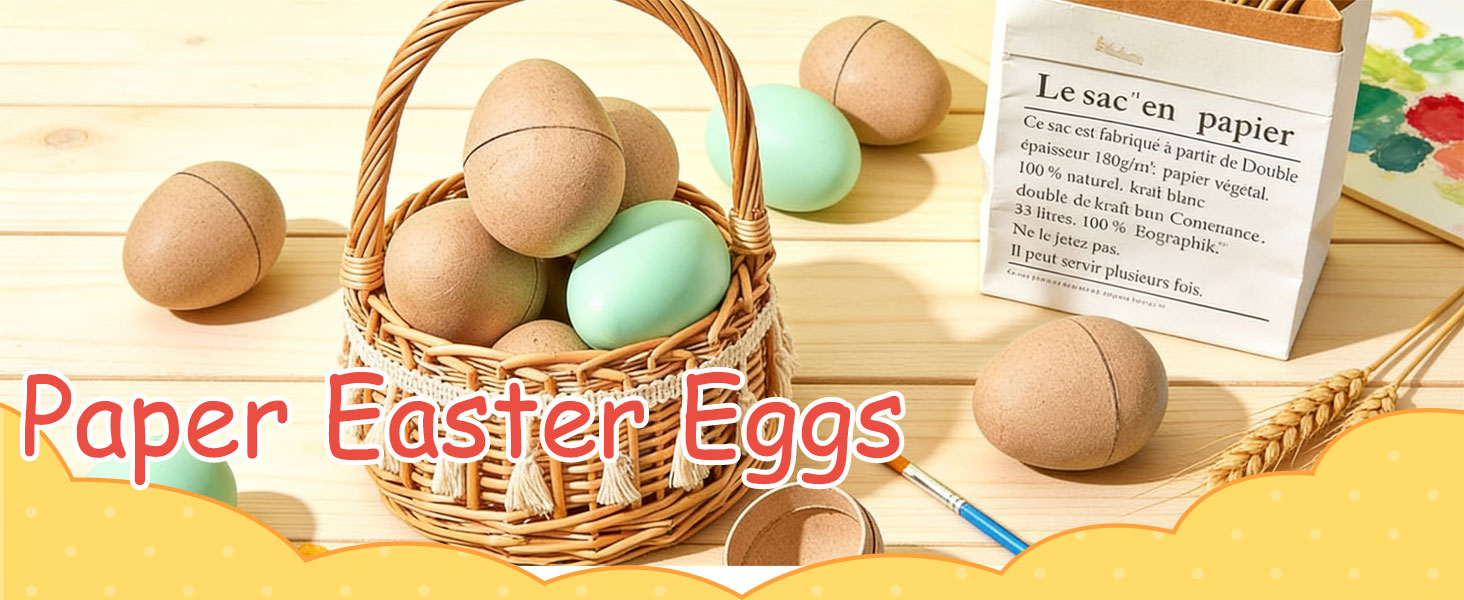
Paper Mache Eggs, Easter Eggs for Crafts, and Paintable Easter Eggs: A Complete Creative Guide
Spring crafting invites color, texture, and a little bit of messy fun. Paper mache eggs are one of those wonderful projects that feel simple at the start and become keepsakes by the end. They are lightweight, affordable, and forgiving enough for beginners, yet they leave plenty of room for experienced crafters to experiment with pattern, finish, and display.
Whether you are planning a family afternoon, a classroom activity, or a quiet creative session of your own, these handmade blanks offer a satisfying balance of structure and freedom. You can shape them, sand them, paint them, decorate them, and arrange them in ways that match your home or holiday table.
Why These Eggs Work for Every Skill Level
The appeal begins with the material itself. A paper mache shell can be built from everyday supplies, and it does not demand perfect precision. Small bumps can be sanded, edges can be trimmed, and paint can hide a surprising number of imperfections. That makes the project encouraging for children and relaxing for adults.
Good craft projects do not require flawless hands. They require a little patience, a comfortable workspace, and permission to try again.
These eggs also dry to a sturdy surface that accepts acrylic paint, tempera, markers, decoupage, and many other finishes. If you want a traditional spring look, choose soft pastels and delicate patterns. If you prefer bold décor, use saturated colors and geometric designs. The blank shape is neutral enough to support almost any style.
Start with a Simple Craft Plan
Before paint comes preparation. A little planning keeps the process enjoyable and prevents the frustrating moment when wet layers collapse or paint will not adhere.
- Cover the table with newspaper, a washable cloth, or a disposable craft mat.
- Gather drying space before you begin, because wet paper mache needs room and time.
- Keep layers thin so the eggs dry evenly and keep their shape.
- Use small cups or egg cartons to hold the eggs steady while they dry.
Set Up a Comfortable Work Area
A stable workstation matters more than fancy tools. Use a tray for small supplies, a cup for brushes, and a nearby waste bin for paper scraps. If children are helping, set clear boundaries for where wet materials can go and where finished pieces can rest.
Choose Materials That Support Beautiful Painting
Paintable easter eggs are most enjoyable when the surface is smooth, dry, and primed for color. A light sanding after the final layer can make a noticeable difference. Wipe away dust with a dry cloth, then apply a thin primer or base coat if you want brighter, more even paint coverage.
- Acrylic paint offers rich color and good coverage on most paper mache surfaces.
- Tempera paint is a friendly choice for younger crafters and washes from brushes easily.
- Fine-tip markers work well for outlines, dots, and small details after the base coat dries.
- Mod podge or sealant can protect finished designs and add a subtle shine.
Keep a few paper towels nearby, along with a cup of water for rinsing brushes. If you are decorating with several colors, work from light to dark so you do not have to wash the brush as often.
Techniques for Smooth, Ready-to-Paint Finishes
The secret to a pleasing finish is patience between steps. Thin layers dry faster than thick ones, and they create fewer cracks. Instead of trying to cover the entire egg in one heavy coat, build the surface gradually.
Build Thin Layers
Apply small pieces of paper and paste in overlapping sections. Smooth each piece down with your fingers or a brush, pressing out air bubbles as you go. Rotate the egg as you work so the shape stays balanced.
Let Each Layer Dry Fully
Drying time depends on humidity, room temperature, and how wet your paste is. A warm, well-ventilated area helps. Avoid rushing the process with direct heat, which can warp the shell or cause uneven drying.
Once the egg is completely dry, sand lightly with fine-grit paper. Focus on rough spots and seams rather than pressing hard across the whole surface. A gentle touch preserves the shape while improving the painting surface.
Design Ideas for Every Age
Easter eggs for crafts can be as simple or detailed as you like. Younger children often enjoy big blocks of color, sticker resist designs, and fingerprint patterns. Older crafters may prefer floral motifs, folk-art lines, geometric grids, or metallic accents.
- Pastel garden: soft pink, mint, butter yellow, and tiny white daisies.
- Modern geometric: bold stripes, triangles, and color-block sections.
- Nature-inspired: leaf prints, speckled textures, and earthy neutrals.
- Festive metallic: deep base colors with gold or silver highlights.
Try a test egg first if you are using a new paint or marker. Let the sample dry completely before judging the color, because some paints dry darker or lighter than they appear when wet.
Display and Preserve Your Handmade Eggs
Once the paint is dry, seal the surface if you want extra durability. Arrange finished pieces in a shallow bowl, a wire basket, or an egg carton lined with fabric. For a table centerpiece, mix small fresh flowers with your handmade eggs, or place them on a tray with candles and natural twigs.
Store paper mache eggs in a dry, cool place. Wrap delicate designs in tissue paper and keep them away from moisture. With gentle handling, they can return to your spring décor year after year.
Final Thoughts
Creative spring projects are most rewarding when they leave room for personal style. A simple paper shell can become a bright centerpiece, a child’s proud gift, or a quiet afternoon escape. Gather your supplies, prepare a comfortable space, and enjoy the process of turning humble materials into colorful handmade treasures.